Monday, October 29, 2012

Hufflepuff Charm Bracelet, and a Wand Charm How-To

When it rains....

Here's another recently finished project.

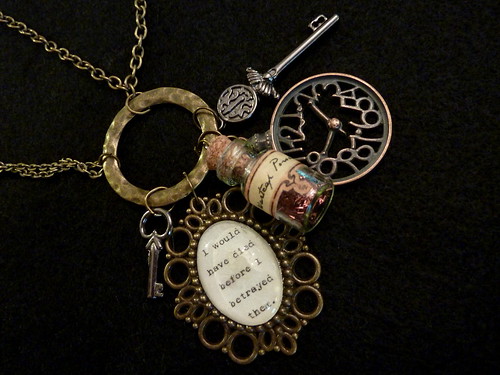
I LOVE charm bracelets. Here's one that's inspired by the storyscape inside my head, but I'll try to explain it the best I can. :)


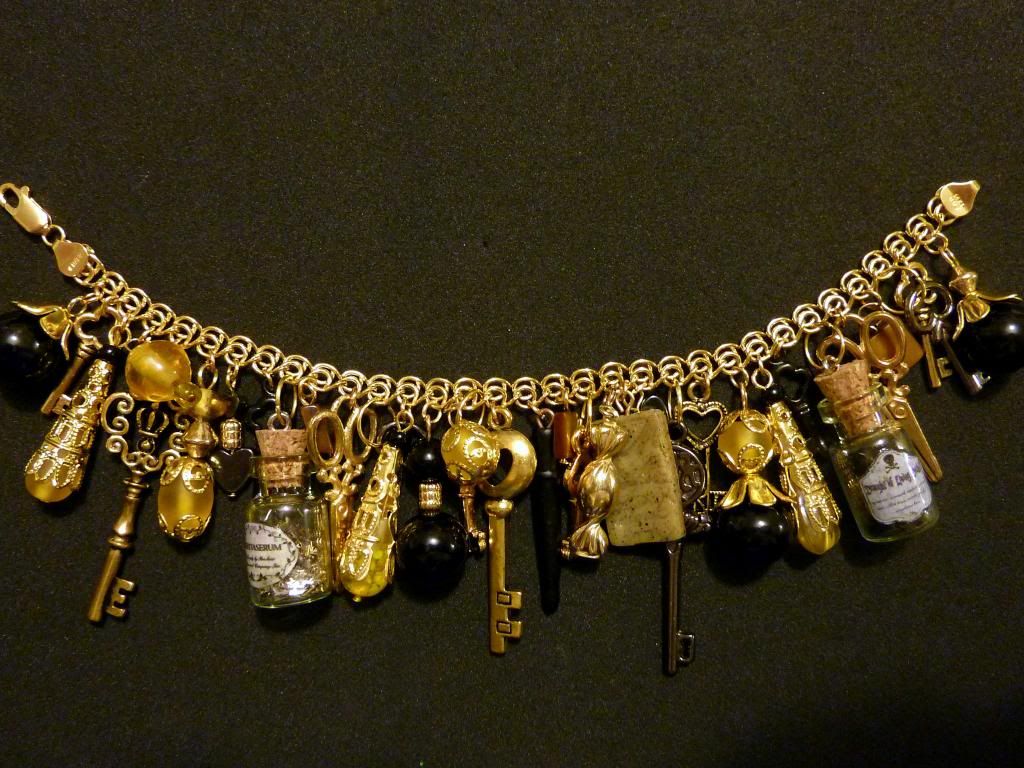
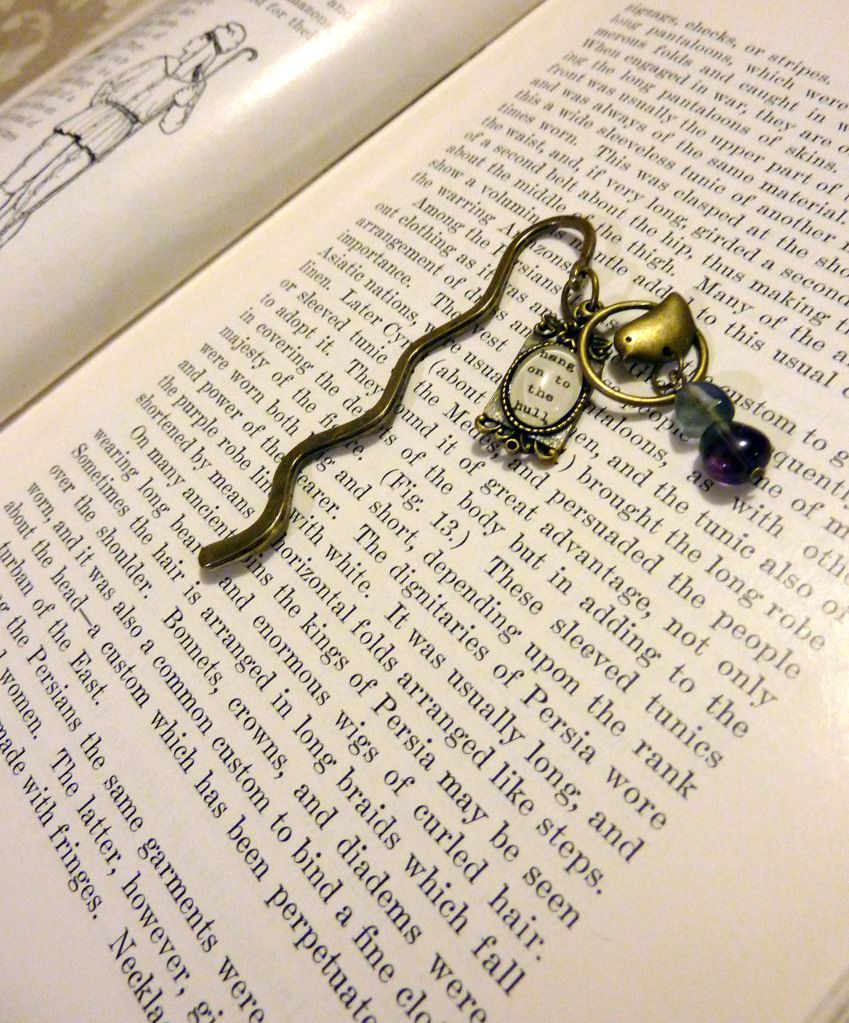
Obviously, it's HuffliePufflie. Black and yellow beads throughout. Glass and stone both. The black hearts are hematite, one of my favourite stones.

I have a story going in my mind (I hesitate to call it fanfic because of what's been associated with the genre as of late, but that's what it is. Purely prudish, I swear.) Keys are a big theme in my story, figuratively and literally, so I've been accumulating key charms for awhile, anticipating assembling this bracelet. Plus, I LOVE keys. I've gotten some beautiful key charms from friends recently, so those went into the bracelet as well.

The character in my story is an avid embroideress with a sweet tooth, so there are golden embroidery scissors and a wrapped candy (the only pre-made charm on this bracelet).

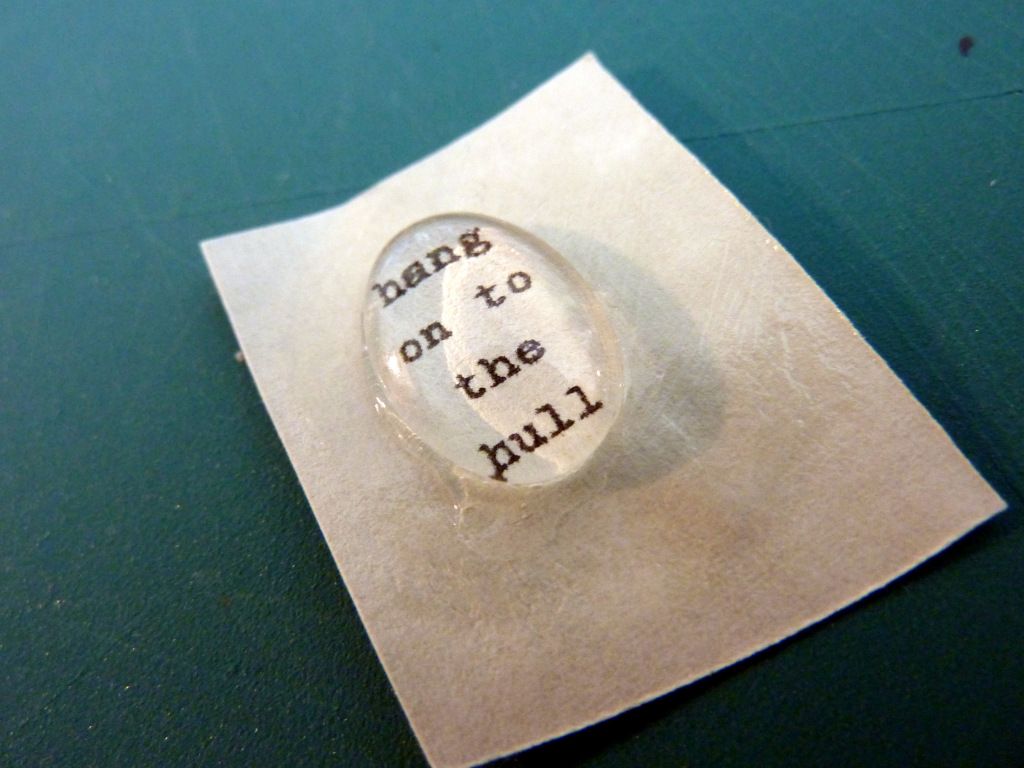
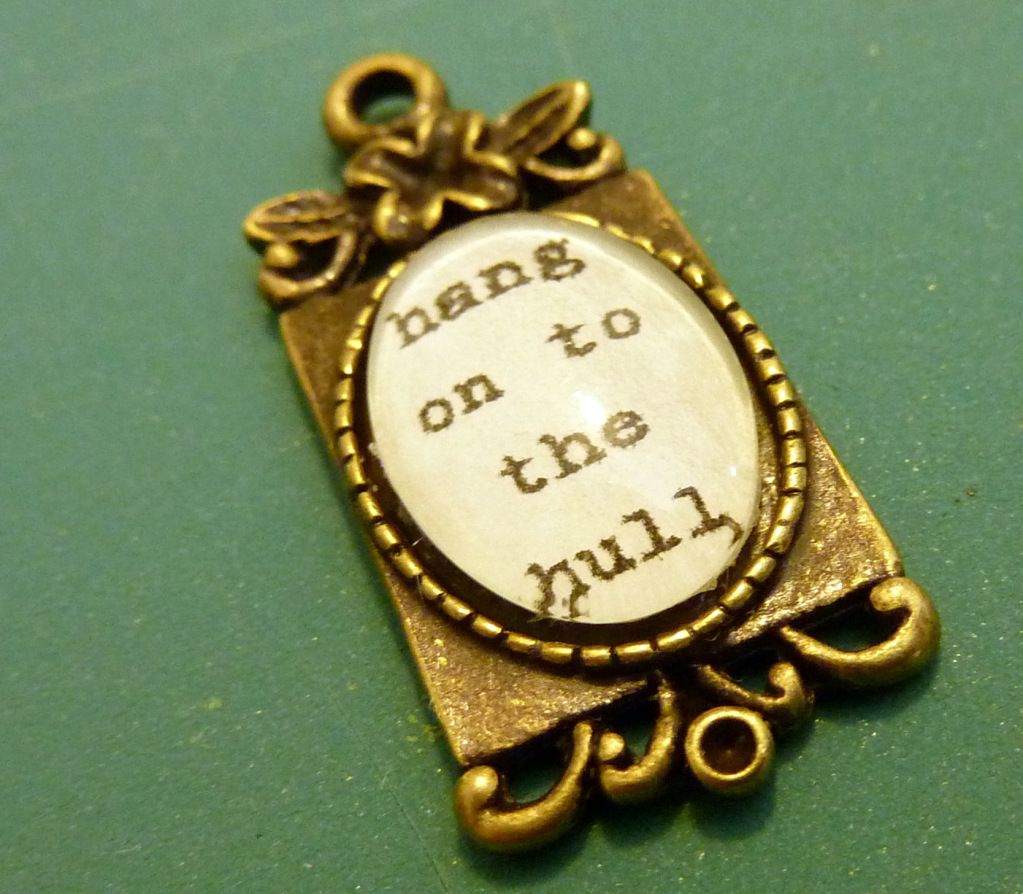
Obviously again, it Snape-tastic. Potion bottles filled with glitter Veritaserum and Draught of Living Death. There is a polymer-clay bit of "parchment", for which I used Premo! Granite Grey and a rubber stamp with calligraphy. In the middle of the bracelet is a polymer-clay wand charm, which is quite quick and fun to make:

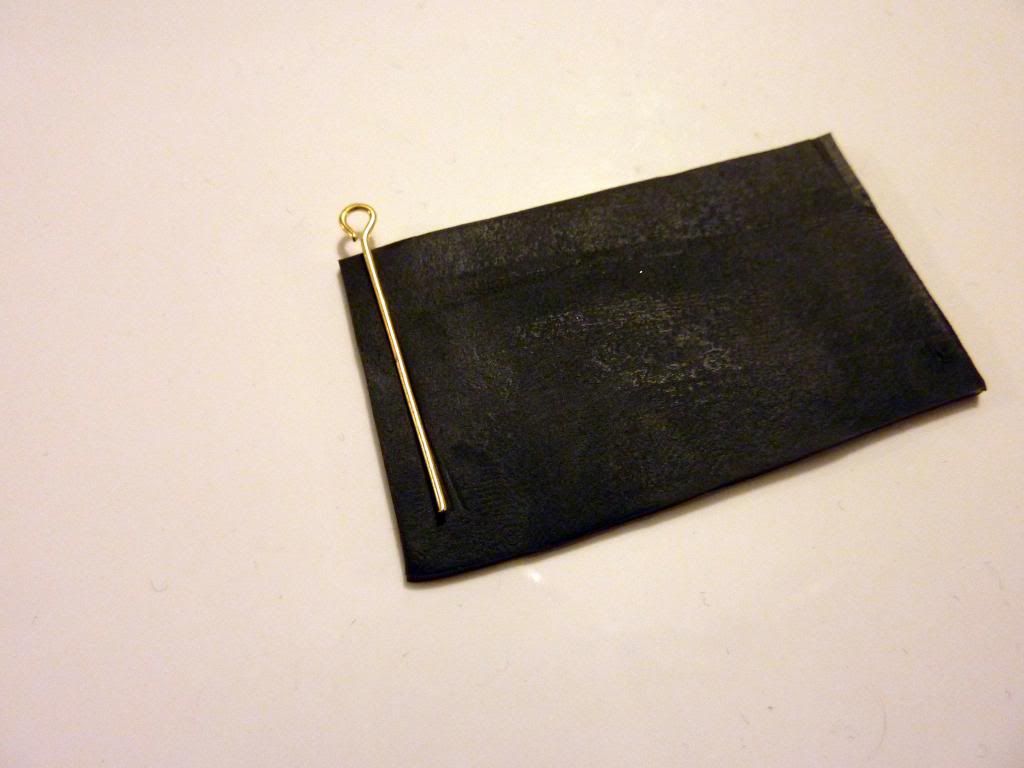
You'll need polymer clay in your wand colour of choice and an eyepin in your wand length of choice.

Roll out the polymer thinly (sorry I have no measurements, but you'll be wrapping this around wire, if that gives an idea of how thin to go).

Cut a rectangle large enough to accommodate the length of the eyepin, and place the eyepin at one end with the eye hanging off the edge:


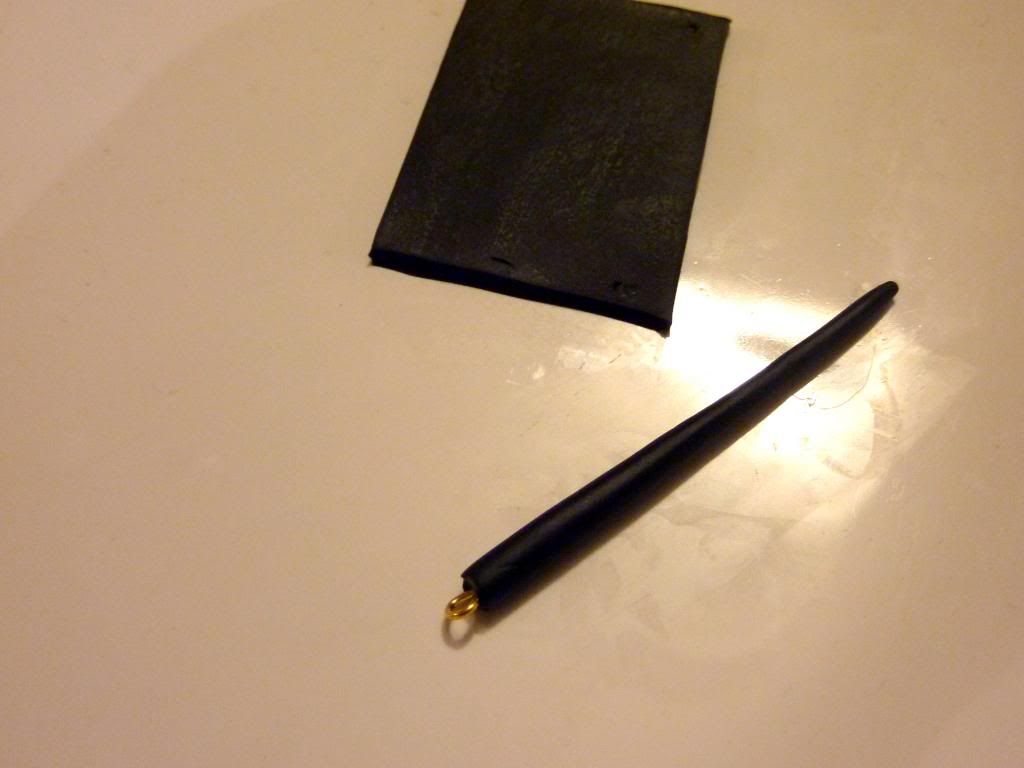
Roll up the clay, trimming so that you get a butted edge where the clay joins. Smooth the joint and roll the wand until you have the diameter and tapering you want. You may need to trim some off the end and re-roll to get the desired thickness.


Add embellishments and bake! Not for too long, though. These are tiny.


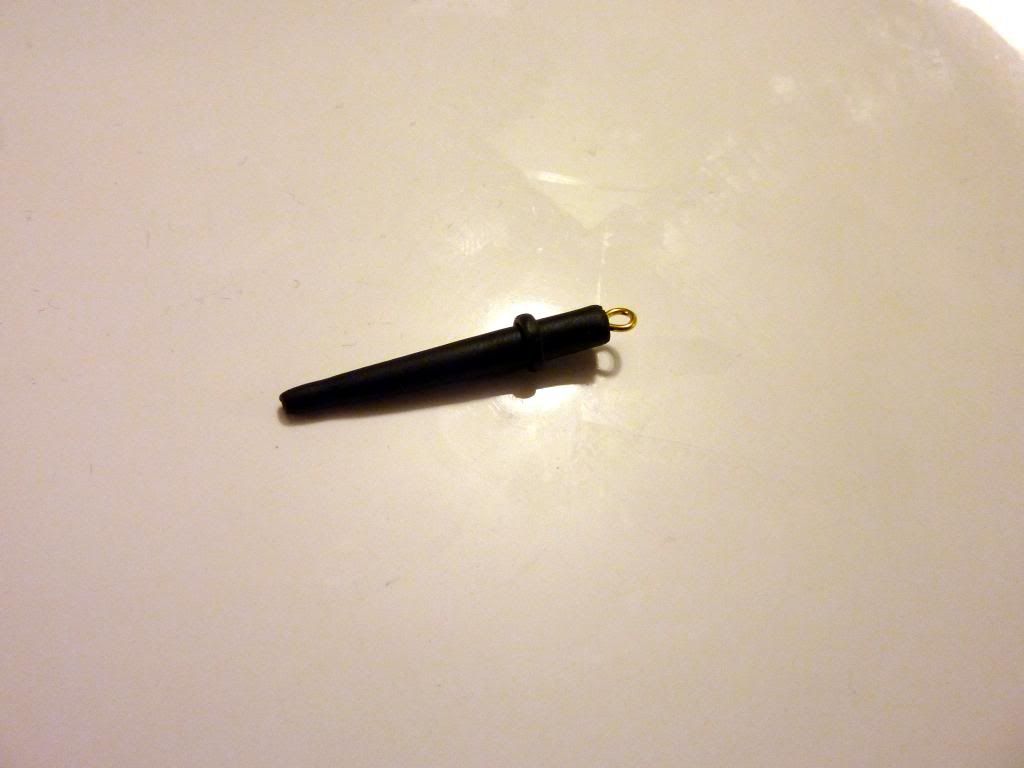
That's it! This bracelet was one of my 12-for-2012 projects, and am I glad it's finally done!


Glass Dome Charms - A Common Sense How-To

I probably just don't know where to look, but while I was figuring out how to make the glass dome charm/pendant for the swap on the last post, I couldn't find any online tutorials. It seems pretty straightforward, but I ran across a few pitfalls as I proceeded, so I'll just post a quick how-to for anyone trying this fun project for the first time.

I got a mixed lot of kits from eBay, each kit including the setting and the matching glass dome. In these photos, you'll see a project I made for my friend Kristel, whose blog you can visit here. :)

The biggest mistake I made was reading the "Safe For Photos!" blurb on the E-6000 adhesive. I didn't think I'd have to seal my printout of text on "parchment" style paper, but I was wrong. The original was completely blotchy and translucent where the glue seeped through.

Lesson: Always seal. Both sides. Front and back.

I use Mod Podge and it's been working just fine.

Cut out a rough shape of the printed matter you want under glass. Seal the front with one layer of your sealer, let dry. Then seal the back.


Using your adhesive, glue the glass dome to front of printed piece.


Cut paper around glass dome with a craft knife and file edges at about a 45° angle to get a nice bevelled edge, so that no paper is hanging out around the edges of the glass. (I used a nearby nail file.)


Photobucket


Photobucket


Use your adhesive (a smallish dab so that it doesn't ooze out from the edges) to attach your dome to your setting. Let dry as directed.


And here is the final product, a bookmark with beads and charms, and a glass dome bit!


Easy, fun, and pretty quick if you know how to go about it!


Prisoner of Azkaban Swap

Here we are with a long-overdue post about some swap items I made (and received!) with a Prisoner of Azkaban theme. These are from the last swap over at Yahoo! Harry Potter Crafts.

My swap partner is a Sirius fan, so I Sirius-ified my theme. :)

Here is what I packaged everything in...a tote swiped from the prison itself!


It's a basic lined tote bag, made in a denim chambray and freezer-paper stencilled with basic white DecoArt So Soft fabric paint. I used a stencil font and, of course, runes (which don't mean anything in the order that I chose...I just liked the way they looked). Along with the year Azkaban was founded, 1717.


Inside the bag were a few boxes; some special packaging for the smaller swap goodies:

PoA Swap Packaging


I designed the labels in Inkscape, using Victorian scrolls I found online and fun type from Dafont.


Inside the Grim box, there was a grim teacup pincusion:

The Grim Teacup
The Grim Tealeaves


The Grim tealeaves are worked in french knots, 3 shades of brown. The pincushion part is a lining fabric backed with muslin and is stuffed with wool roving. The teacup I found in my local antique shop.


And inside the 'Whittemore and Prothero' box (a fictional jeweller I thought sounded Diagon-Alley-ish), there was a Sirius-themed charm necklace:


PoA Charms
PoA Charm Necklace


The quote is from Sirius in PoA, the potion is Wartcap Powder which was found at Grimmauld Place. The clock face and keys represent the time Sirius lost in Azkaban. The potion bottle label is a small printout of this label on DeviantArt. applied with Modpodge and sealed with clear nail varnish. The quote pendant is a glass dome in a setting. My next post will be a brief tutorial of how I figured out how to do this, since I oddly couldn't find any tutorials online.


And last of all, was a wallhanging made from patterns available at Fandom in Stitches:

The Knight Bus in Transit


How much fun!