I got a mixed lot of kits from eBay, each kit including the setting and the matching glass dome. In these photos, you'll see a project I made for my friend Kristel, whose blog you can visit here. :)
The biggest mistake I made was reading the "Safe For Photos!" blurb on the E-6000 adhesive. I didn't think I'd have to seal my printout of text on "parchment" style paper, but I was wrong. The original was completely blotchy and translucent where the glue seeped through.
Lesson: Always seal. Both sides. Front and back.
I use Mod Podge and it's been working just fine.
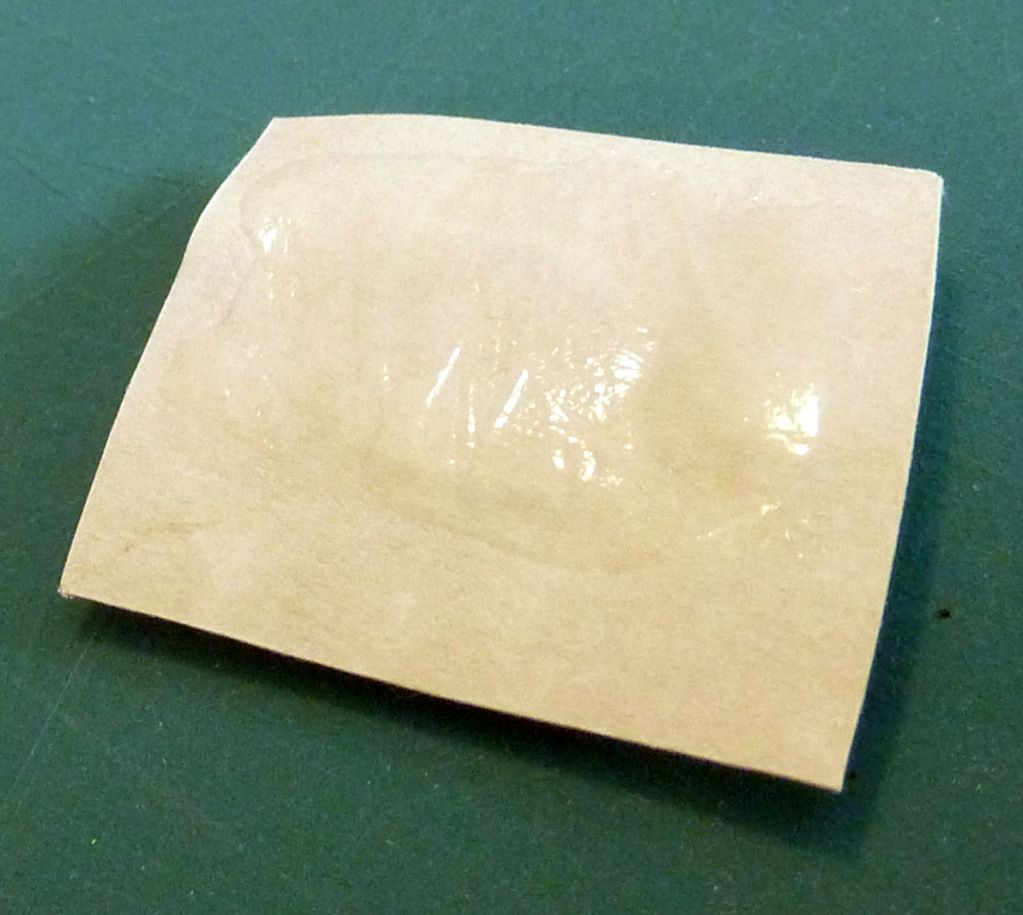
Cut out a rough shape of the printed matter you want under glass. Seal the front with one layer of your sealer, let dry. Then seal the back.
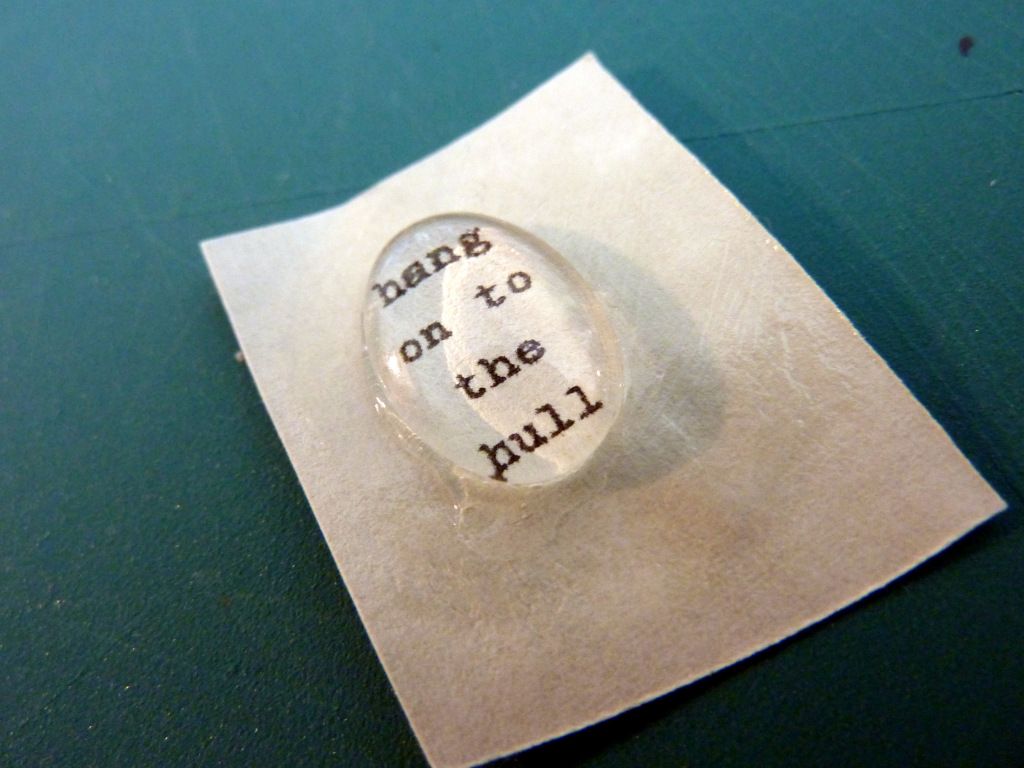
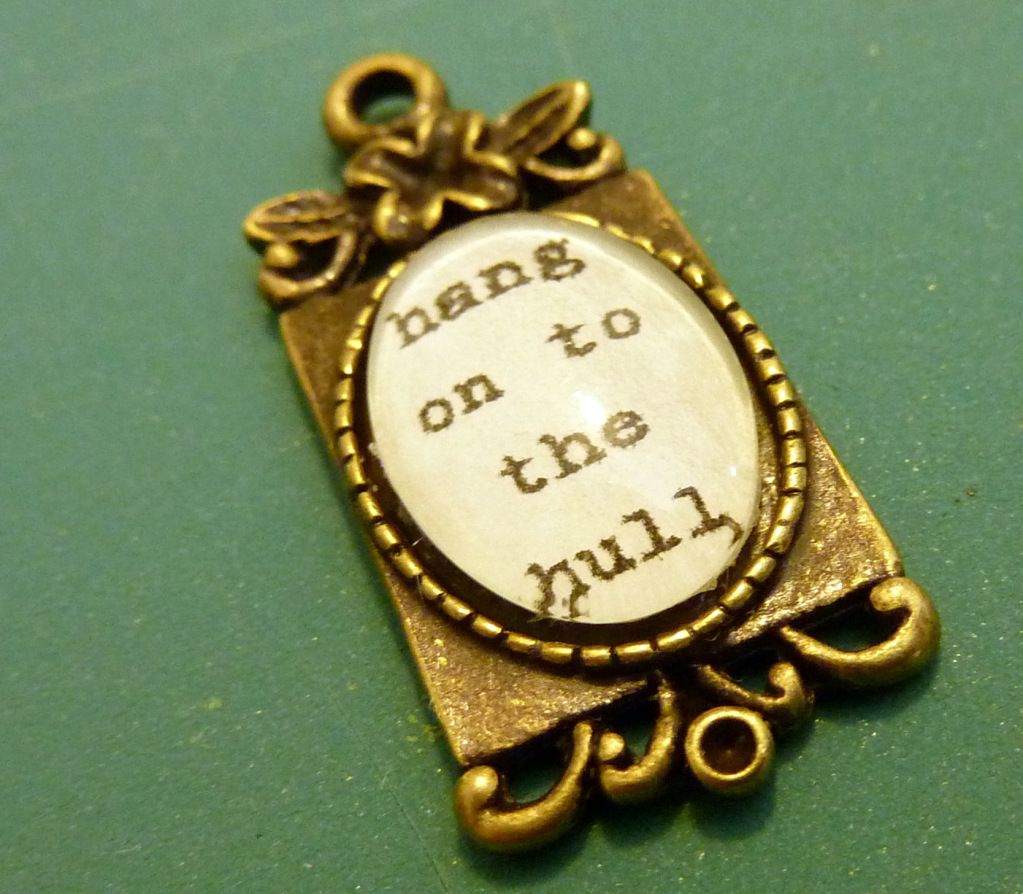
Using your adhesive, glue the glass dome to front of printed piece.
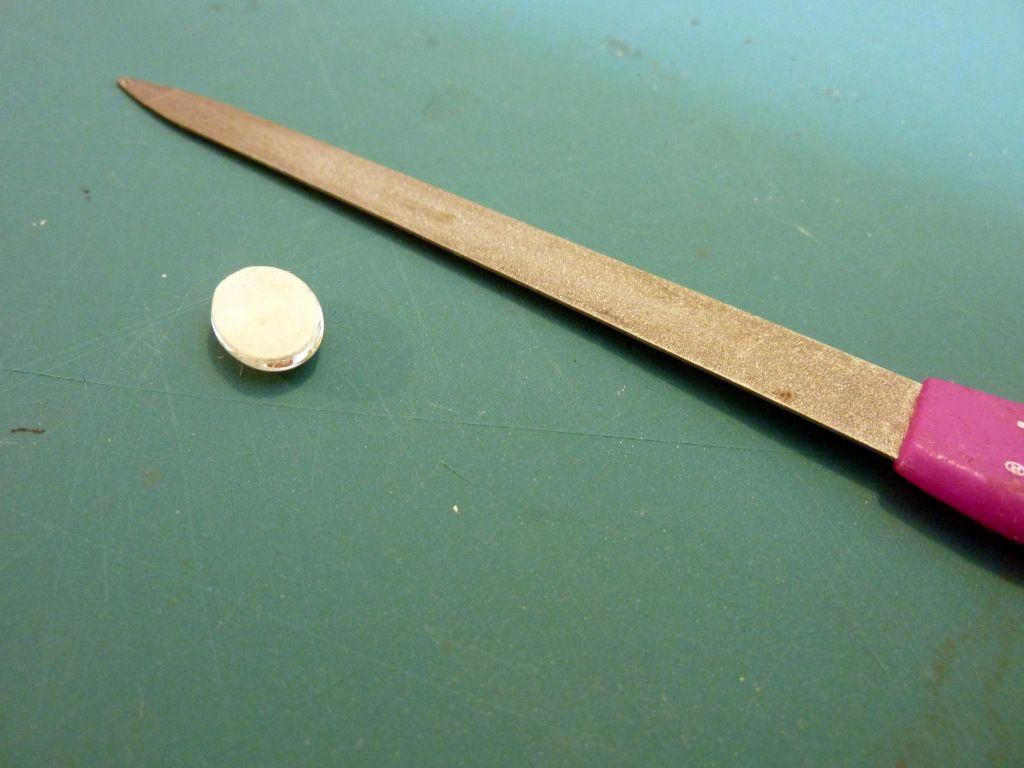
Cut paper around glass dome with a craft knife and file edges at about a 45° angle to get a nice bevelled edge, so that no paper is hanging out around the edges of the glass. (I used a nearby nail file.)
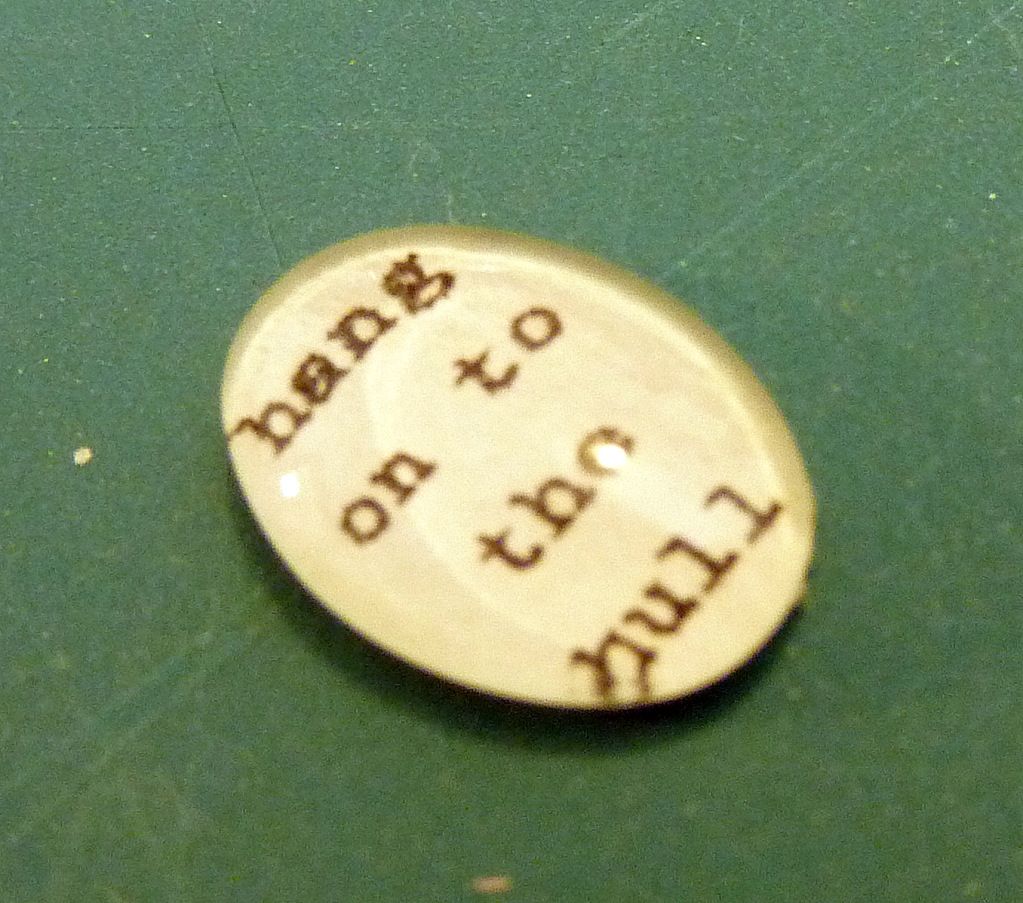
Use your adhesive (a smallish dab so that it doesn't ooze out from the edges) to attach your dome to your setting. Let dry as directed.
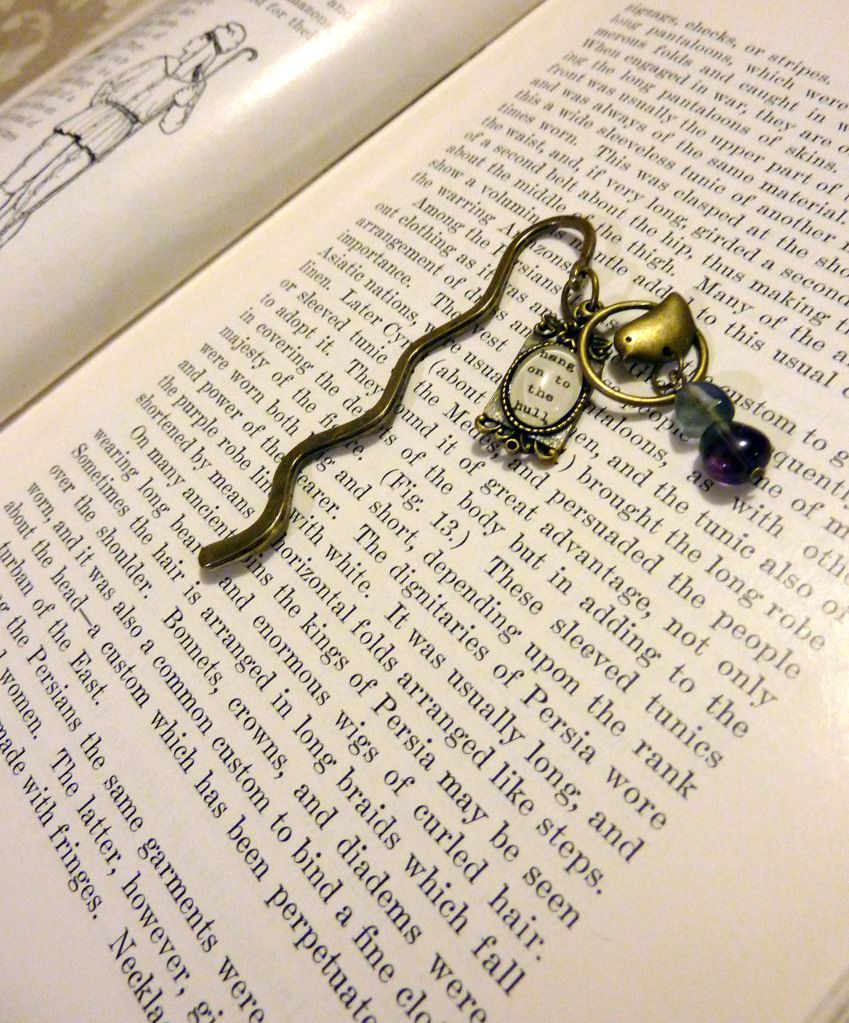
And here is the final product, a bookmark with beads and charms, and a glass dome bit!
Easy, fun, and pretty quick if you know how to go about it!
It does look much easier to do than I imagined it would :D
ReplyDelete(And also: love the bookmark! I use it constantly!)
I am glad you love it. I loved making it!
ReplyDelete