Saturday, November 24, 2012

The Fourth Doctor Mug Rug

Here is a quick project I wanted to make for my friend Jewells (her blog is here). This lovely lady, whom I met through the fabulous TTMT community, has sent me care packages full of crafty goodies which both my daughters and I always thoroughly enjoy.

I happen to know that she is a loooong-time Dr. Who fan, and I believe Her Doctor is #4. So, what to do? A mug rug, that's what.

Photobucket


These are two patterns from Fandom in Stitches. Halves of two patterns, actually. The Doctor's scarf is the lower half of Cat's 'Torn Ribbon' pattern, and of course the half-TARDIS is Jen's TARDIS, version 2. I have not seen the older incarnations of Dr. Who (like so many others, I started with Ecclescakes), and I'm pretty sure his scarf was never flying out behind the TARDIS, but what the hey. You get the idea.

Enjoy your cuppa, Jewells! :)

Saturday, November 3, 2012

Moroccan Caftan Embroidery

Here is another 12-for-2012!


This is a gift for my mum, it's just waiting for a frame. The design is from a line-art drawing from Islamic Designs by Diane Victoria Horn. It's a ceremonial caftan and belt from 19th century Rabat.

Since it started as just a line drawing, I decided to make it into a sort of sampler, trying all kinds of stitches that I'd never done before. It's worked on a poly blend "silk shantung", backed with muslin. Worked in chain, stem, straight, buttonhole, fern, bullion, and satin stitches. Here are some pictures of the process.

The original design, traced using water-soluable ink:


There are babouches, or slipper-type shoes, in the original design. I tried to include them but they just never looked quite right.

I basted muslin around the edges to fit the piece nicely into a hoop. Here it is in the beginning, in summer!


I wanted to try a blackwork design for the belt, so I first drew in a grid to use as a guideline:


And here are some detail shots of the final piece:


A few new stitches under my belt! Success!


Friday, November 2, 2012

Prefect Badge How-To

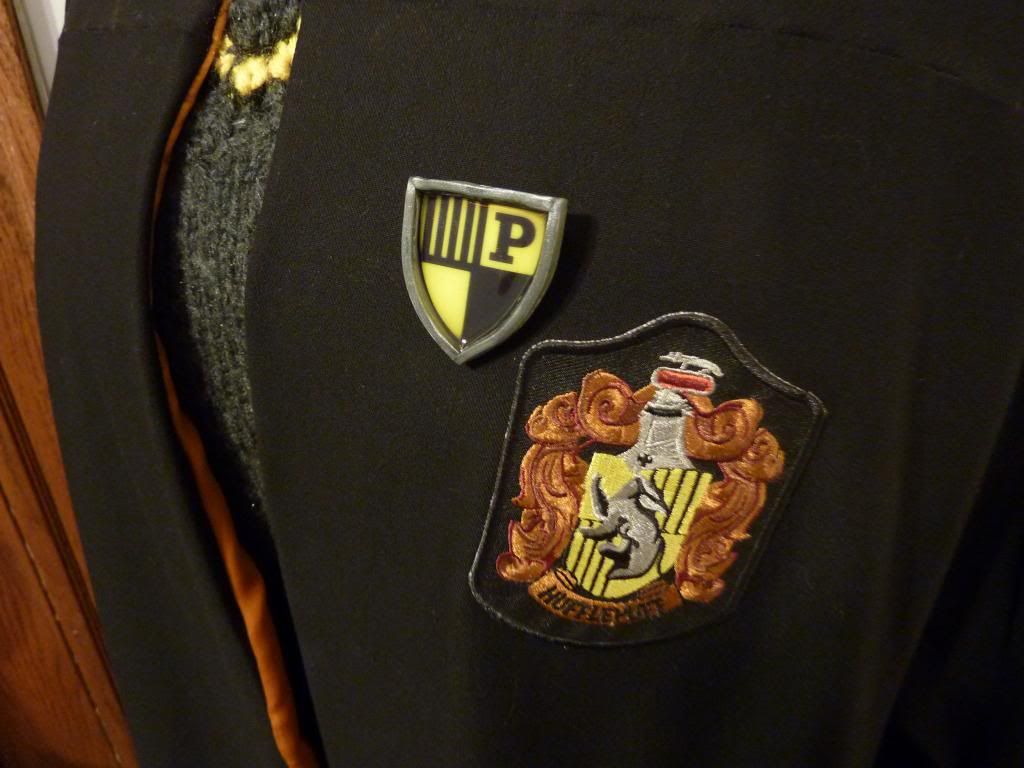
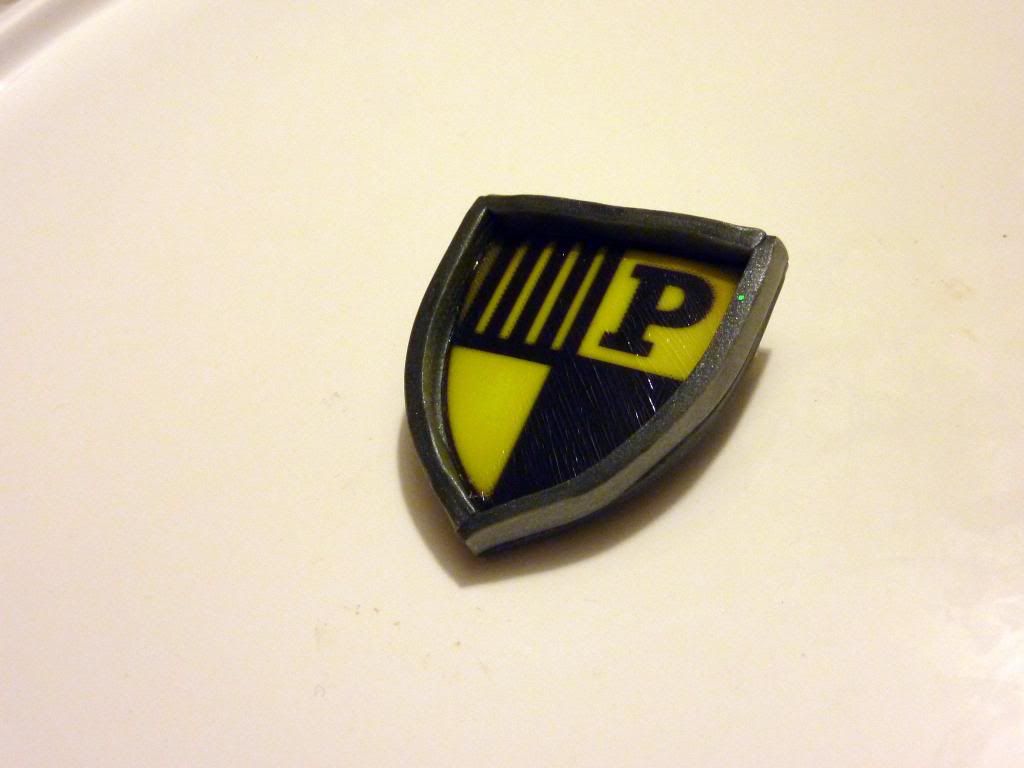
I haven't quite decided if I'm prefect material.

For those days when I'm feeling especially prattish exemplary, I have made myself a badge.
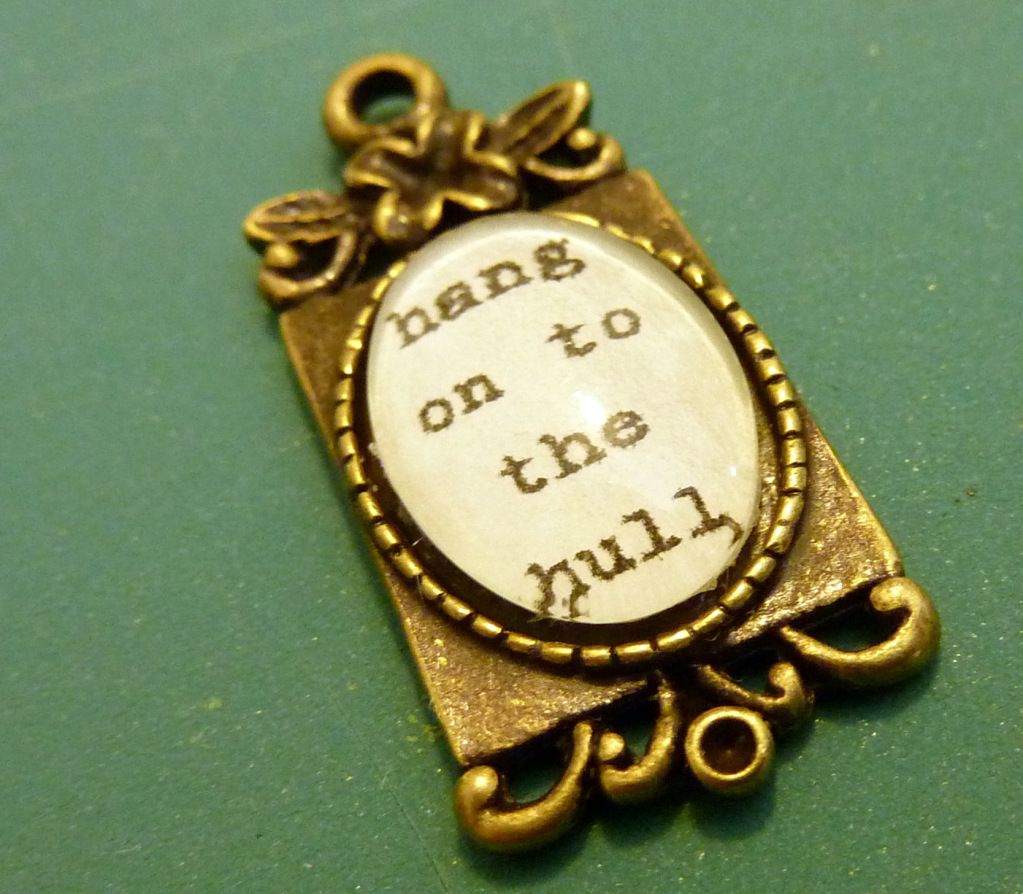

It's kind of what I envisioned, minus the slabs-of-polymer-clay-stuck-together look.

Here's how I did it, and if you're more proficient with polymer than I am, you can smooth out the seams to suit your tastes.

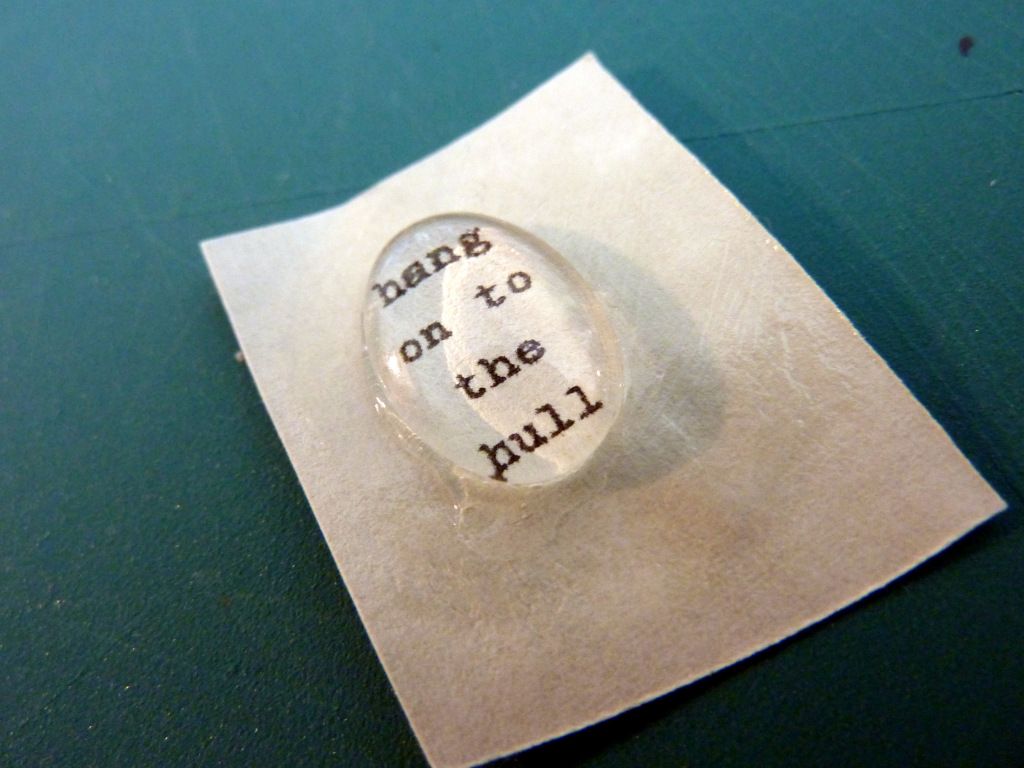
It's a basic tray setting, into which I secured a printed prefect design (I designed mine in Inkscape), and sealed with resin.

You'll need the following:

  • silvery polymer clay (I used Premo!Sculpey Accents in Silver)
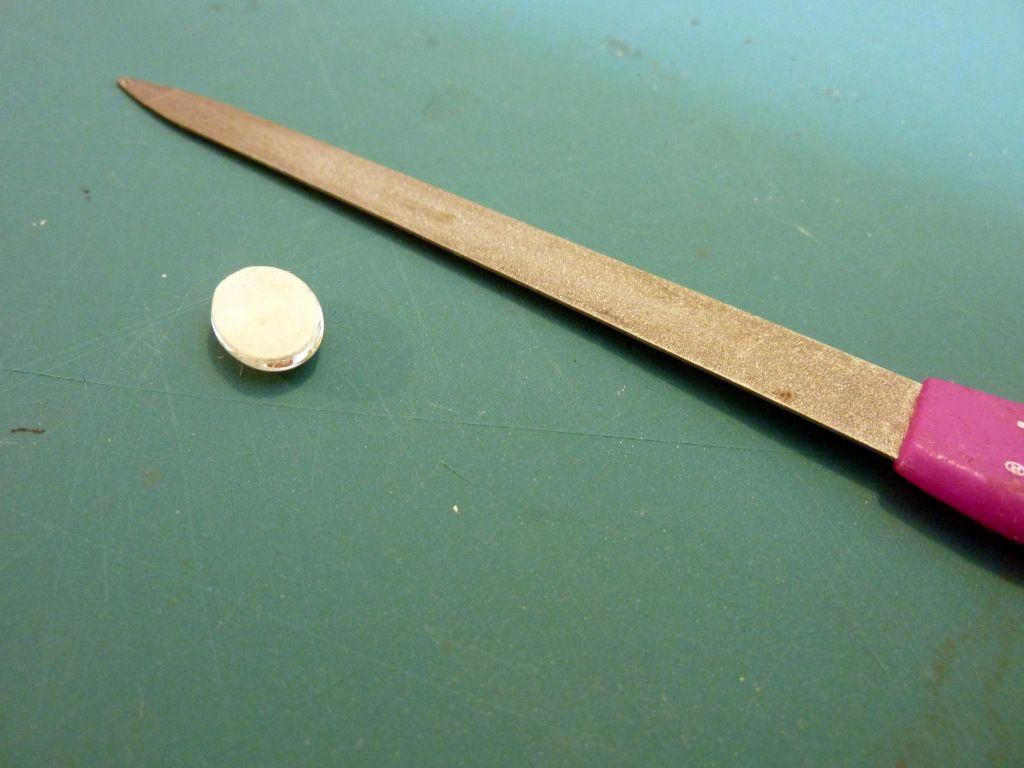
  • a pin back finding
  • jewellery glaze or resin (I used Diamond Glaze)
  • sealer (I used ModPodge)
  • jewellery glue (I used E-6000)
  • printout/drawing of your house prefect design

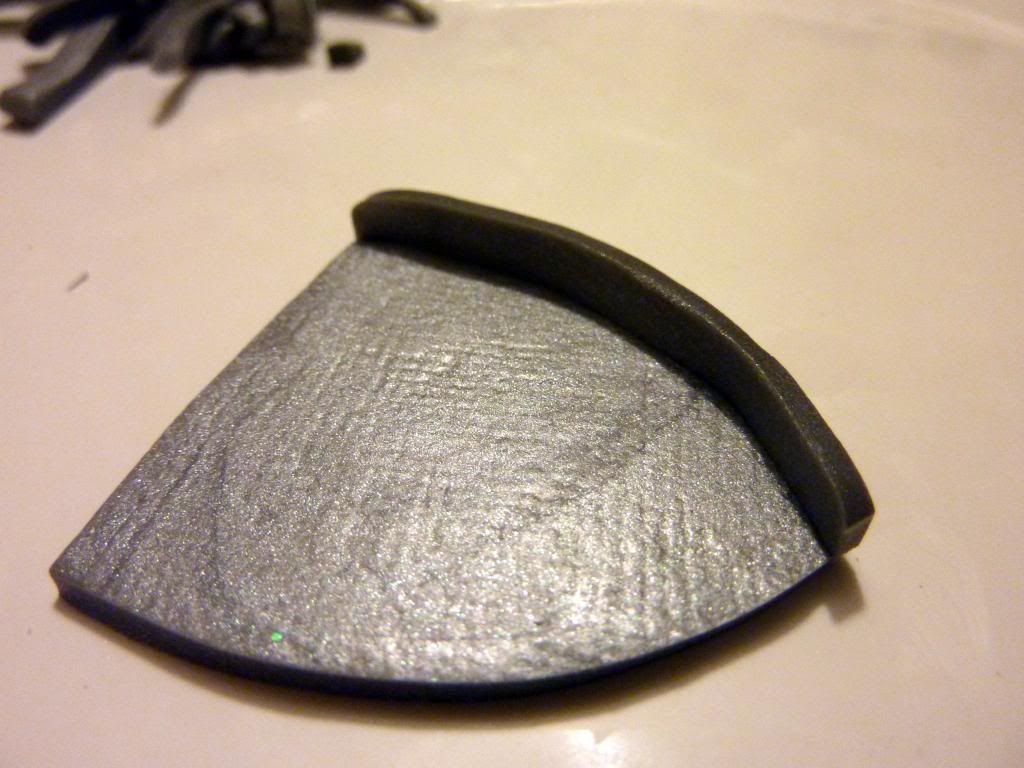
1. Cut out the design of your choice. Roll out the clay to a uniform thickness (mine is a little less than 1/8" thick). Use your cutout as a pattern for the base of your setting, cutting around the basic shape and leaving 1/8' 'seam allowance' for the walls of your setting. Cut strips of the rolled polymer for the walls. I eyeballed mine, but I just measured and they're 3/16" high. Attach the walls, trimming as you go, around the edge of the base.


2. After all the walls are in place, bake as directed.

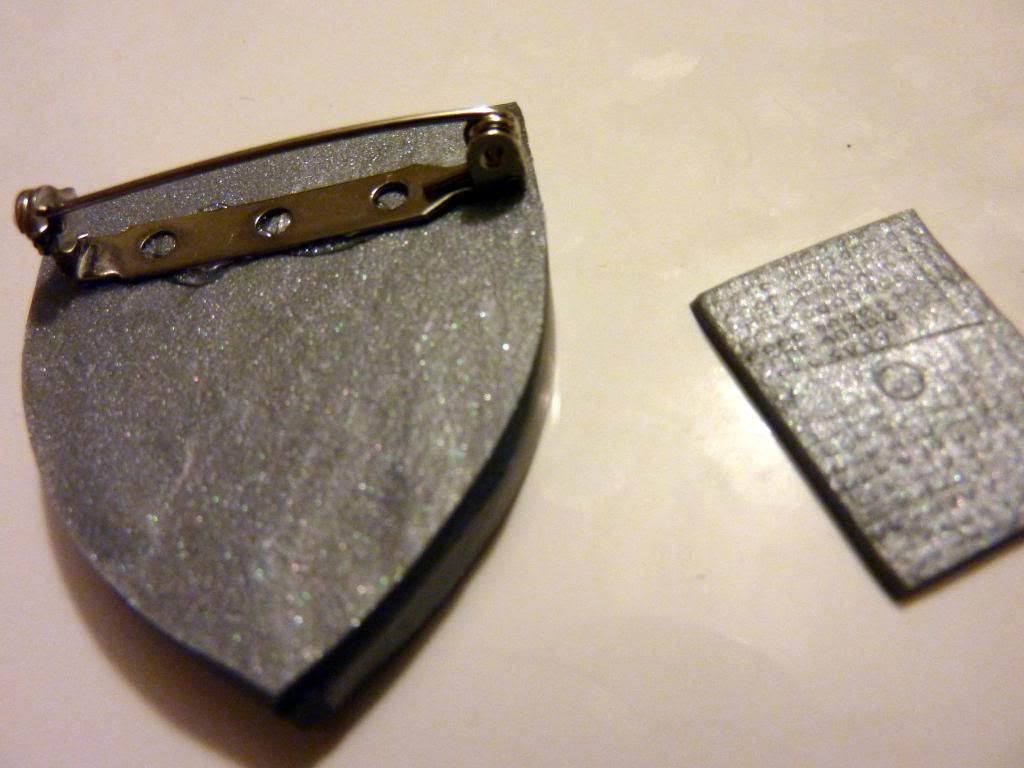
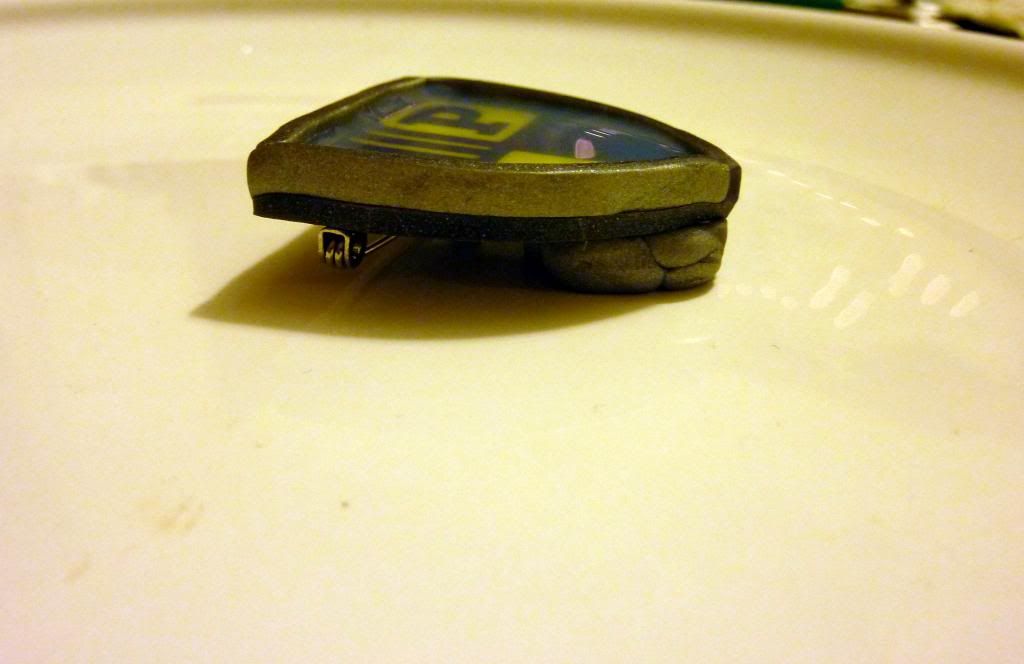
3. After clay has cooled, attach pin finding with jewellery glue. Allow to cure.

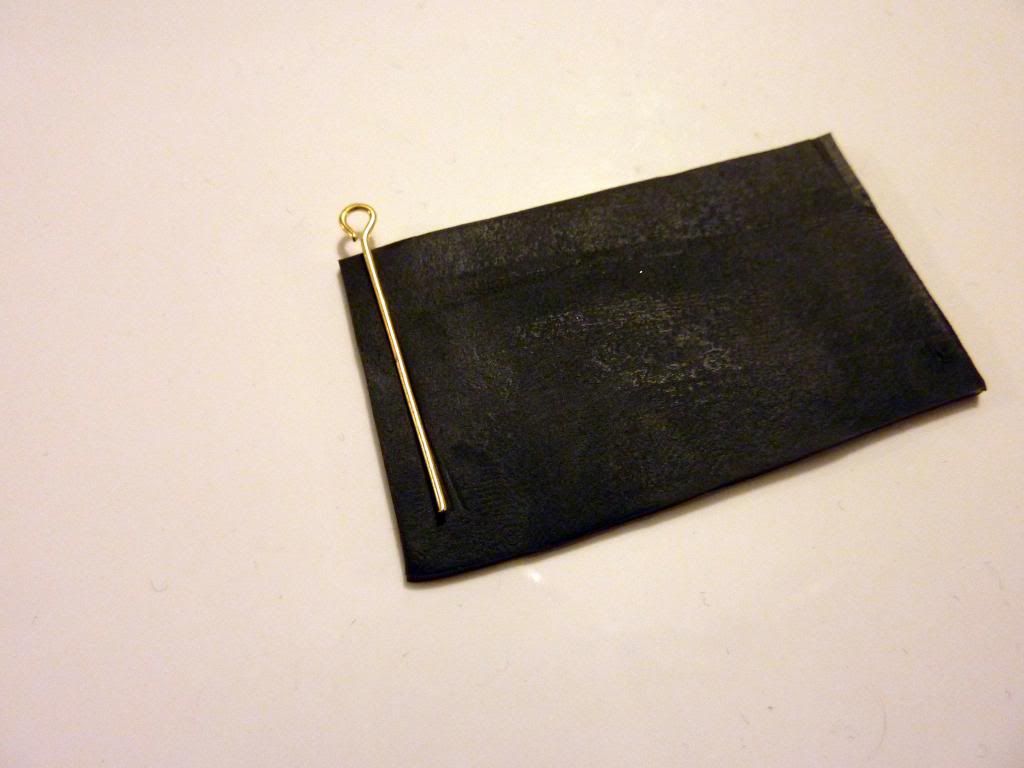
4. For added security, make a 'band-aid' of polymer - just a rectangle - and attach over the bottom of the pin finding. Rebake your badge.


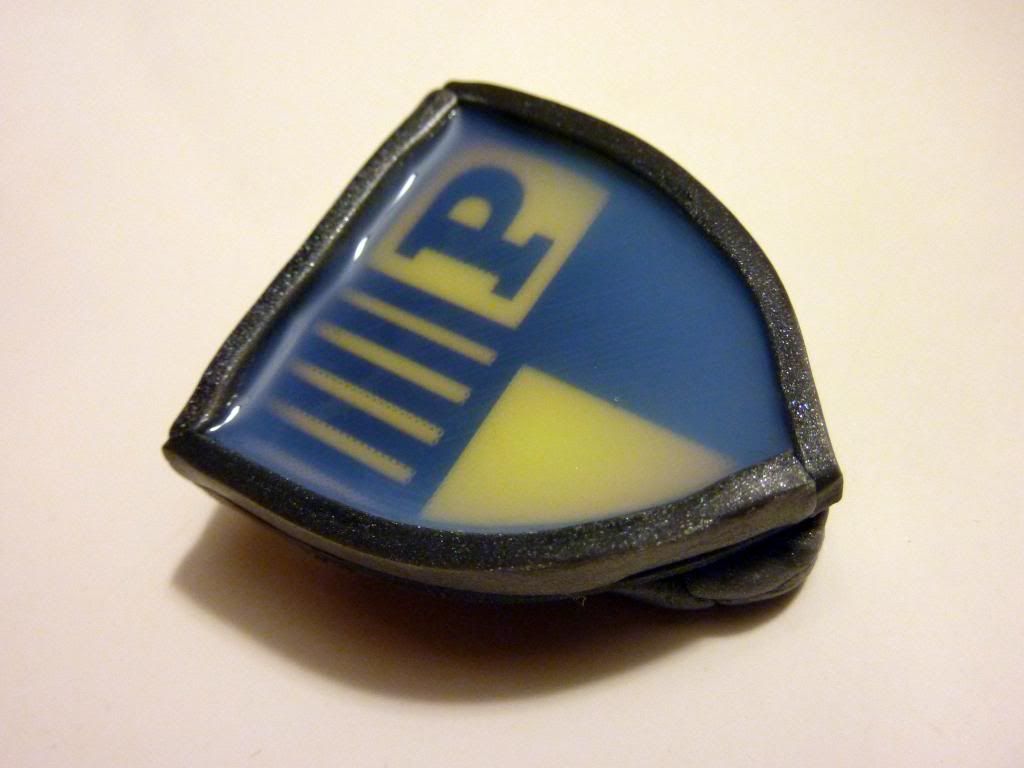
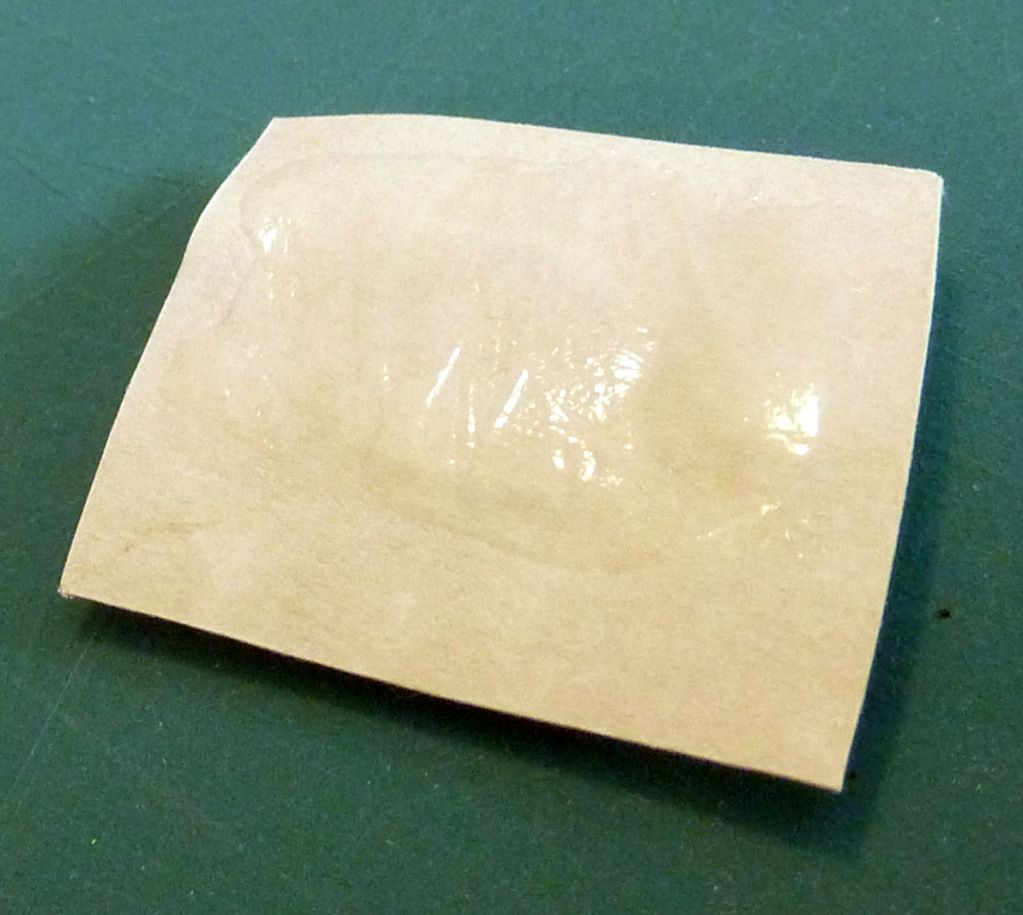
5. Seal both the front and back of your paper design with sealer. Let dry, then glue to the inside of your setting, trimming if necessary.


6. Before you add your resin, you have to make the setting level. Use a scrap lump of clay under the bottom of the badge to raise it to level.


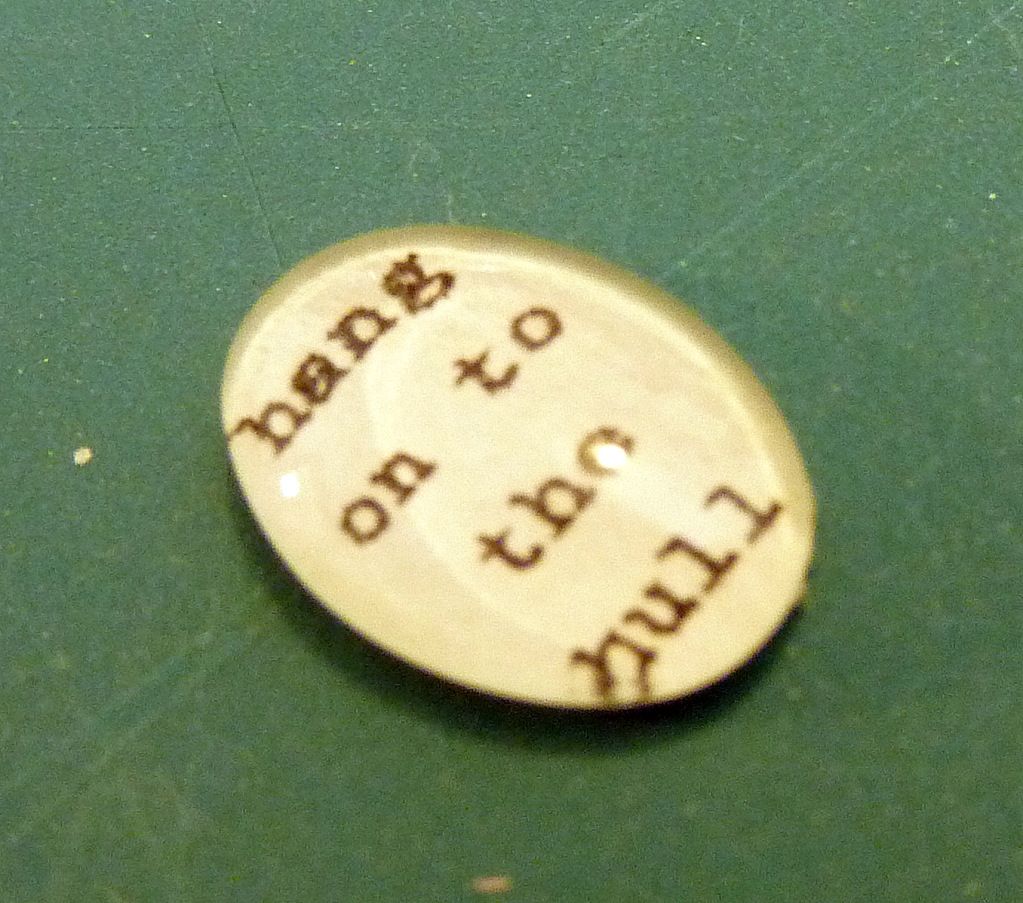
7. Pour in a thick layer of resin, following your manufacturer's directions.


8. Allow to cure, again following your manufacturer's directions.

Enjoy being a prefect! :)

Monday, October 29, 2012

Hufflepuff Charm Bracelet, and a Wand Charm How-To

When it rains....

Here's another recently finished project.

I LOVE charm bracelets. Here's one that's inspired by the storyscape inside my head, but I'll try to explain it the best I can. :)


Obviously, it's HuffliePufflie. Black and yellow beads throughout. Glass and stone both. The black hearts are hematite, one of my favourite stones.

I have a story going in my mind (I hesitate to call it fanfic because of what's been associated with the genre as of late, but that's what it is. Purely prudish, I swear.) Keys are a big theme in my story, figuratively and literally, so I've been accumulating key charms for awhile, anticipating assembling this bracelet. Plus, I LOVE keys. I've gotten some beautiful key charms from friends recently, so those went into the bracelet as well.

The character in my story is an avid embroideress with a sweet tooth, so there are golden embroidery scissors and a wrapped candy (the only pre-made charm on this bracelet).

Obviously again, it Snape-tastic. Potion bottles filled with glitter Veritaserum and Draught of Living Death. There is a polymer-clay bit of "parchment", for which I used Premo! Granite Grey and a rubber stamp with calligraphy. In the middle of the bracelet is a polymer-clay wand charm, which is quite quick and fun to make:

You'll need polymer clay in your wand colour of choice and an eyepin in your wand length of choice.

Roll out the polymer thinly (sorry I have no measurements, but you'll be wrapping this around wire, if that gives an idea of how thin to go).

Cut a rectangle large enough to accommodate the length of the eyepin, and place the eyepin at one end with the eye hanging off the edge:


Roll up the clay, trimming so that you get a butted edge where the clay joins. Smooth the joint and roll the wand until you have the diameter and tapering you want. You may need to trim some off the end and re-roll to get the desired thickness.


Add embellishments and bake! Not for too long, though. These are tiny.


That's it! This bracelet was one of my 12-for-2012 projects, and am I glad it's finally done!


Glass Dome Charms - A Common Sense How-To

I probably just don't know where to look, but while I was figuring out how to make the glass dome charm/pendant for the swap on the last post, I couldn't find any online tutorials. It seems pretty straightforward, but I ran across a few pitfalls as I proceeded, so I'll just post a quick how-to for anyone trying this fun project for the first time.

I got a mixed lot of kits from eBay, each kit including the setting and the matching glass dome. In these photos, you'll see a project I made for my friend Kristel, whose blog you can visit here. :)

The biggest mistake I made was reading the "Safe For Photos!" blurb on the E-6000 adhesive. I didn't think I'd have to seal my printout of text on "parchment" style paper, but I was wrong. The original was completely blotchy and translucent where the glue seeped through.

Lesson: Always seal. Both sides. Front and back.

I use Mod Podge and it's been working just fine.

Cut out a rough shape of the printed matter you want under glass. Seal the front with one layer of your sealer, let dry. Then seal the back.


Using your adhesive, glue the glass dome to front of printed piece.


Cut paper around glass dome with a craft knife and file edges at about a 45° angle to get a nice bevelled edge, so that no paper is hanging out around the edges of the glass. (I used a nearby nail file.)


Photobucket


Photobucket


Use your adhesive (a smallish dab so that it doesn't ooze out from the edges) to attach your dome to your setting. Let dry as directed.


And here is the final product, a bookmark with beads and charms, and a glass dome bit!


Easy, fun, and pretty quick if you know how to go about it!


Prisoner of Azkaban Swap

Here we are with a long-overdue post about some swap items I made (and received!) with a Prisoner of Azkaban theme. These are from the last swap over at Yahoo! Harry Potter Crafts.

My swap partner is a Sirius fan, so I Sirius-ified my theme. :)

Here is what I packaged everything in...a tote swiped from the prison itself!


It's a basic lined tote bag, made in a denim chambray and freezer-paper stencilled with basic white DecoArt So Soft fabric paint. I used a stencil font and, of course, runes (which don't mean anything in the order that I chose...I just liked the way they looked). Along with the year Azkaban was founded, 1717.


Inside the bag were a few boxes; some special packaging for the smaller swap goodies:

PoA Swap Packaging


I designed the labels in Inkscape, using Victorian scrolls I found online and fun type from Dafont.


Inside the Grim box, there was a grim teacup pincusion:

The Grim Teacup
The Grim Tealeaves


The Grim tealeaves are worked in french knots, 3 shades of brown. The pincushion part is a lining fabric backed with muslin and is stuffed with wool roving. The teacup I found in my local antique shop.


And inside the 'Whittemore and Prothero' box (a fictional jeweller I thought sounded Diagon-Alley-ish), there was a Sirius-themed charm necklace:


PoA Charms
PoA Charm Necklace


The quote is from Sirius in PoA, the potion is Wartcap Powder which was found at Grimmauld Place. The clock face and keys represent the time Sirius lost in Azkaban. The potion bottle label is a small printout of this label on DeviantArt. applied with Modpodge and sealed with clear nail varnish. The quote pendant is a glass dome in a setting. My next post will be a brief tutorial of how I figured out how to do this, since I oddly couldn't find any tutorials online.


And last of all, was a wallhanging made from patterns available at Fandom in Stitches:

The Knight Bus in Transit


How much fun!

Wednesday, June 20, 2012

Classic Film: Stolen Scenes

Here is another Snape-tastic quilting project.


This is a pattern called Classic Film, available from the Sewhooked shop.

You start with five 5-1/2" quilt blocks of your choosing and create a film fragment, complete with fabric sprocket holes! I loved this pattern from the first time I saw it and I finally got around to making myself a version. A Snapey version.

I printed five scenes from the Harry Potter films. I found high-resolution screenshots and promotional shots of all the scenes I wanted included and printed them on Avery fusible inkjet-printable fabric. (I didn't notice that it was fusible when I bought it, so I ended up fusing the blocks to muslin before sewing this together.) Top to bottom, we have Snape's office, Cokeworth, the potions lab, the parlour at Spinner's End, and another office-arches shot. Can I say again that the one person I would like to meet from the HP films (well, besides the obvious one) is Stuart Craig?  I mean, come on. How can one dude so perfectly capture what millions of readers, and the author herself, were envisioning? I know he had scores and scores of people to execute his vision, but they certainly picked the right production designer for these films.

Here is the top, pre-quilting:


A bit bunchy in places because this was my first strip-piecing project and I got the length wrong on the rectangle strips.

Here is a closeup of that fabric. I didn't intend to buy any fabric for this project, but I saw this FQ and had to have it. You know how it goes. It reminds me of the melty, splotchy flickers on the screen when a filmstrip corrodes and breaks while it's still projecting.


And here, against my better judgement, is a closeup of the minimal quilting I did on the finished piece. I attempted to stitch-in-the-ditch. About a 60% success rate.


Here is the embroidered (tiny) label/rod pocket:


The finished piece is now hanging in my sewing nook, which has nearly zero wallspace left! So many HP crafts, so little space...

:)


Thursday, May 24, 2012

Wait...doesn't this blog belong to a Hufflepuff?

Yes, but, it's healthy to explore our darker sides every now and then, right?

First, a Slytherin-themed stencilled tee:


From a Tom Felton quote. I resized Jen's Slytherin Crest to about 5 inches and used the Windows font 'Blackadder' for the text.

And then I had this:


An actual motivational relic from 1996. But it's got really nice graph paper inside, and it was green and black, so I had to reformat it to Slytherin specs.

I spend way too much time on the Cheezburger network. I am easily amused. One of my stops on the Cheezburger train is Very Demotivational. This is where people take the signature black border/white text (see photo above) and insert LOLs with funny capshunz. So I had to change this notebook to a demotivational, toungue-in-cheek, Slytherin 'artwork'.

I browsed BrainyQuote (a slight misnomer, considering the site contains quotes from such illustrious luminaries as Jay-Z and Paris Hilton) for quotes related to opportunity, and found the perfect one from George Eliot. Then I browsed my collection of Dover images for clipart and grabbed some elements off the web (Salazar's locket, a Slytherin house tie, a crest), and printed them all on parchment printer paper. I cut them out with my trusty XActo and proceeded to Podge!


When decoupaging, I thin my ModPodge with a bit of water and apply the goop all the way to the edges of the piece using a foam brush. I always work on wax paper, bringing a few sheets to my work area so I can have a fresh surface when the decoupage medium gets messy. Any excess medium that oozes out the edges can be wiped away after you position the piece on your surface.


And that's it! Now I can draft patterns and sketch layouts to my heart's content, all the while being demotivated!


Tuesday, May 1, 2012

TABABOM Elvish Bag


One Ring to rule them all, One Ring to find them,
One Ring to bring them all and in the darkness bind them


Here is my small contribution to FiS's There and Back Again Block of the Month. This is the May prize for the winner of the Flickr Group random drawing.


And a closer look at the stitching:


I have to be honest, I am not crazy about Hobbits. But I enjoy reading Tolkien's work and absolutely adore the languages that he constructed. Seriously, here is one guy doing the work of multiple generations of people working out their own linguistic patterns. It's fascinating and a bit awe-inspiring. (If I hadn't become a graphic designer, I just might have been a linguist. Or an ethnobotanist. Or a costume designer.)

Anyway. How I would love to have the time to devote to learning Quenya. One of these days.

Like any good researcher *rolls eyes*, I quote Wikipedia:
The ring-inscription is in the Black Speech, a language devised by Sauron and used in his land of Mordor. It is written in tengwar. The inscription embodied the One Ring's power to control the other Rings of Power. The inscription used Elvish letters because the Black Speech did not have its own script. 

This circle inscription design is pretty widespread across the internet: you can even get one for your Macbook. But I first found it on Quenya101. (The entry with the original graphic is here.)

Here is a little bit about how I created this project. I've done a few embroidered bags, many of them beginning with Simplicity 4178. I've modified this pattern extensively for different bags, and for this project I drafted a new shape altogether. If you'd like to create your own embroidered bag, it can be done with just about any bag pattern or tutorial out there, as long as it's got a relatively flat surface...not gathered where your design will be obscured. Just cut a piece of fabric with a lot of extra room, that will allow you to cut out the bag pattern easily once you've finished embroidering.

For a long time, I thought that stitching through tracing paper was only for difficult, high-pile, or heavily textured fabrics like velvet. But it turns out that this method of image transfer makes intricate stitching much quicker.

I printed my Elvish circle on regular tracing paper and basted it to a rectangle of black twill, large enough to give some wiggle room when I finally got around to cutting out the pattern pieces:


Once basted in place, I began stitching through both the paper and fabric with a double-strand DMC floss. (Triple strand for the circles.) It went really quickly because I didn't have to keep verifying the design or squinting to see the blue transfer lines!


The only disadvantage to this method is that the tracing paper obscures the stitching you've already done, so that you have to be careful about getting really close backstitches. Also, I wouldn't recommend doing french knots through the paper (come back and do those after the paper is off) because it's hard to get them at the right tension through the paper.

The paper tears away easily; though, you might need to use a pin or tweezers to convince those last few bits to come off:


Ta-da!


I hope whoever wins this month's prize over at TABABOM really enjoys this bag, and maybe feels inspired to try some Elvish embroidery of their own!

:)